This guide explains how to use the Advanced Targeting System once it is set up. It is divided into sections for key operational and customization tasks, ensuring developers can quickly understand how to interact with and extend the system.
Toggling Lock-On
- Ensure the
IA_ToggleLockOnInput Action is bound to a key (e.g., “T”) in the Input Mapping Context. - Press the bound key to trigger
ToggleLockOnonBP_TargetingComponent. If a valid target is found (based on distance, camera proximity, and line-of-sight), the system locks onto it, and the pawn’s controller rotates to face the target. - Press the key again to disable lock-on.
Switching Targets
- While locked on, press the key bound to
IA_SwitchTargetRight(e.g., “E”) to triggerSwitch To Right, selecting the closest target to the right. - Press the key bound to
IA_SwitchTargetLeft(e.g., “Q”) to triggerSwitch To Left, selecting the closest target to the left. - The system evaluates nearby targets, updates the lock-on, and triggers the
On Target Selectedevent on the new target.
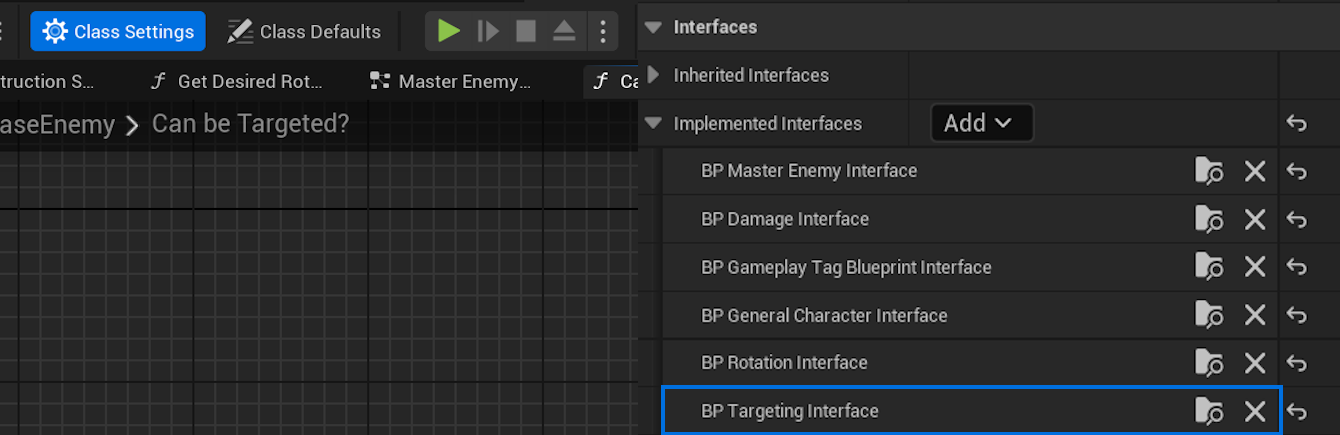
Creating a Custom Targetable Actor
- Create a new actor Blueprint or open an existing one (e.g., an enemy or NPC).
- In the Class Settings, add the
BP_TargetingInterfaceto the Interfaces list.
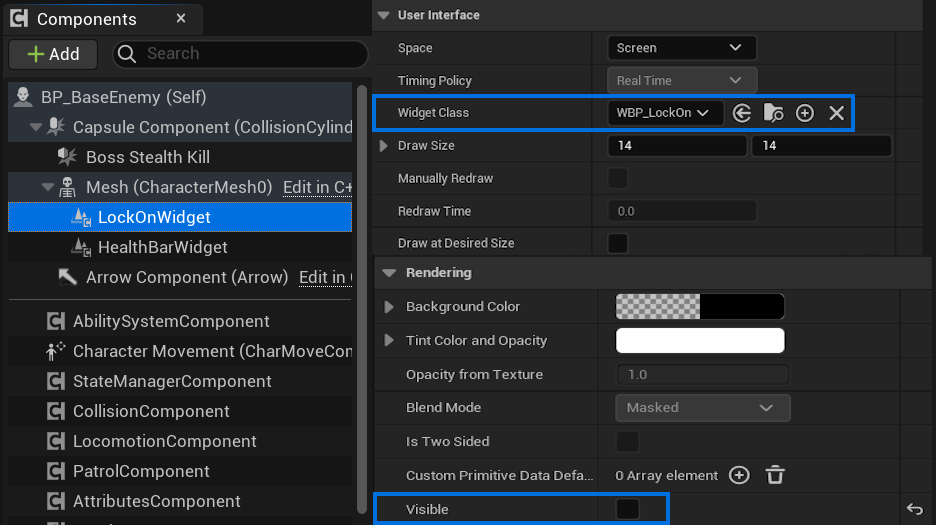
- Add a Widget Component to the actor:
- Set the Widget Class to
WBP_LockOn(or a custom widget if desired). - Set the default visibility to False.
- Set the Widget Class to
Note
You can also adjust the position of the targeting dot by clicking on the widget component and moving it in the Character View Port.
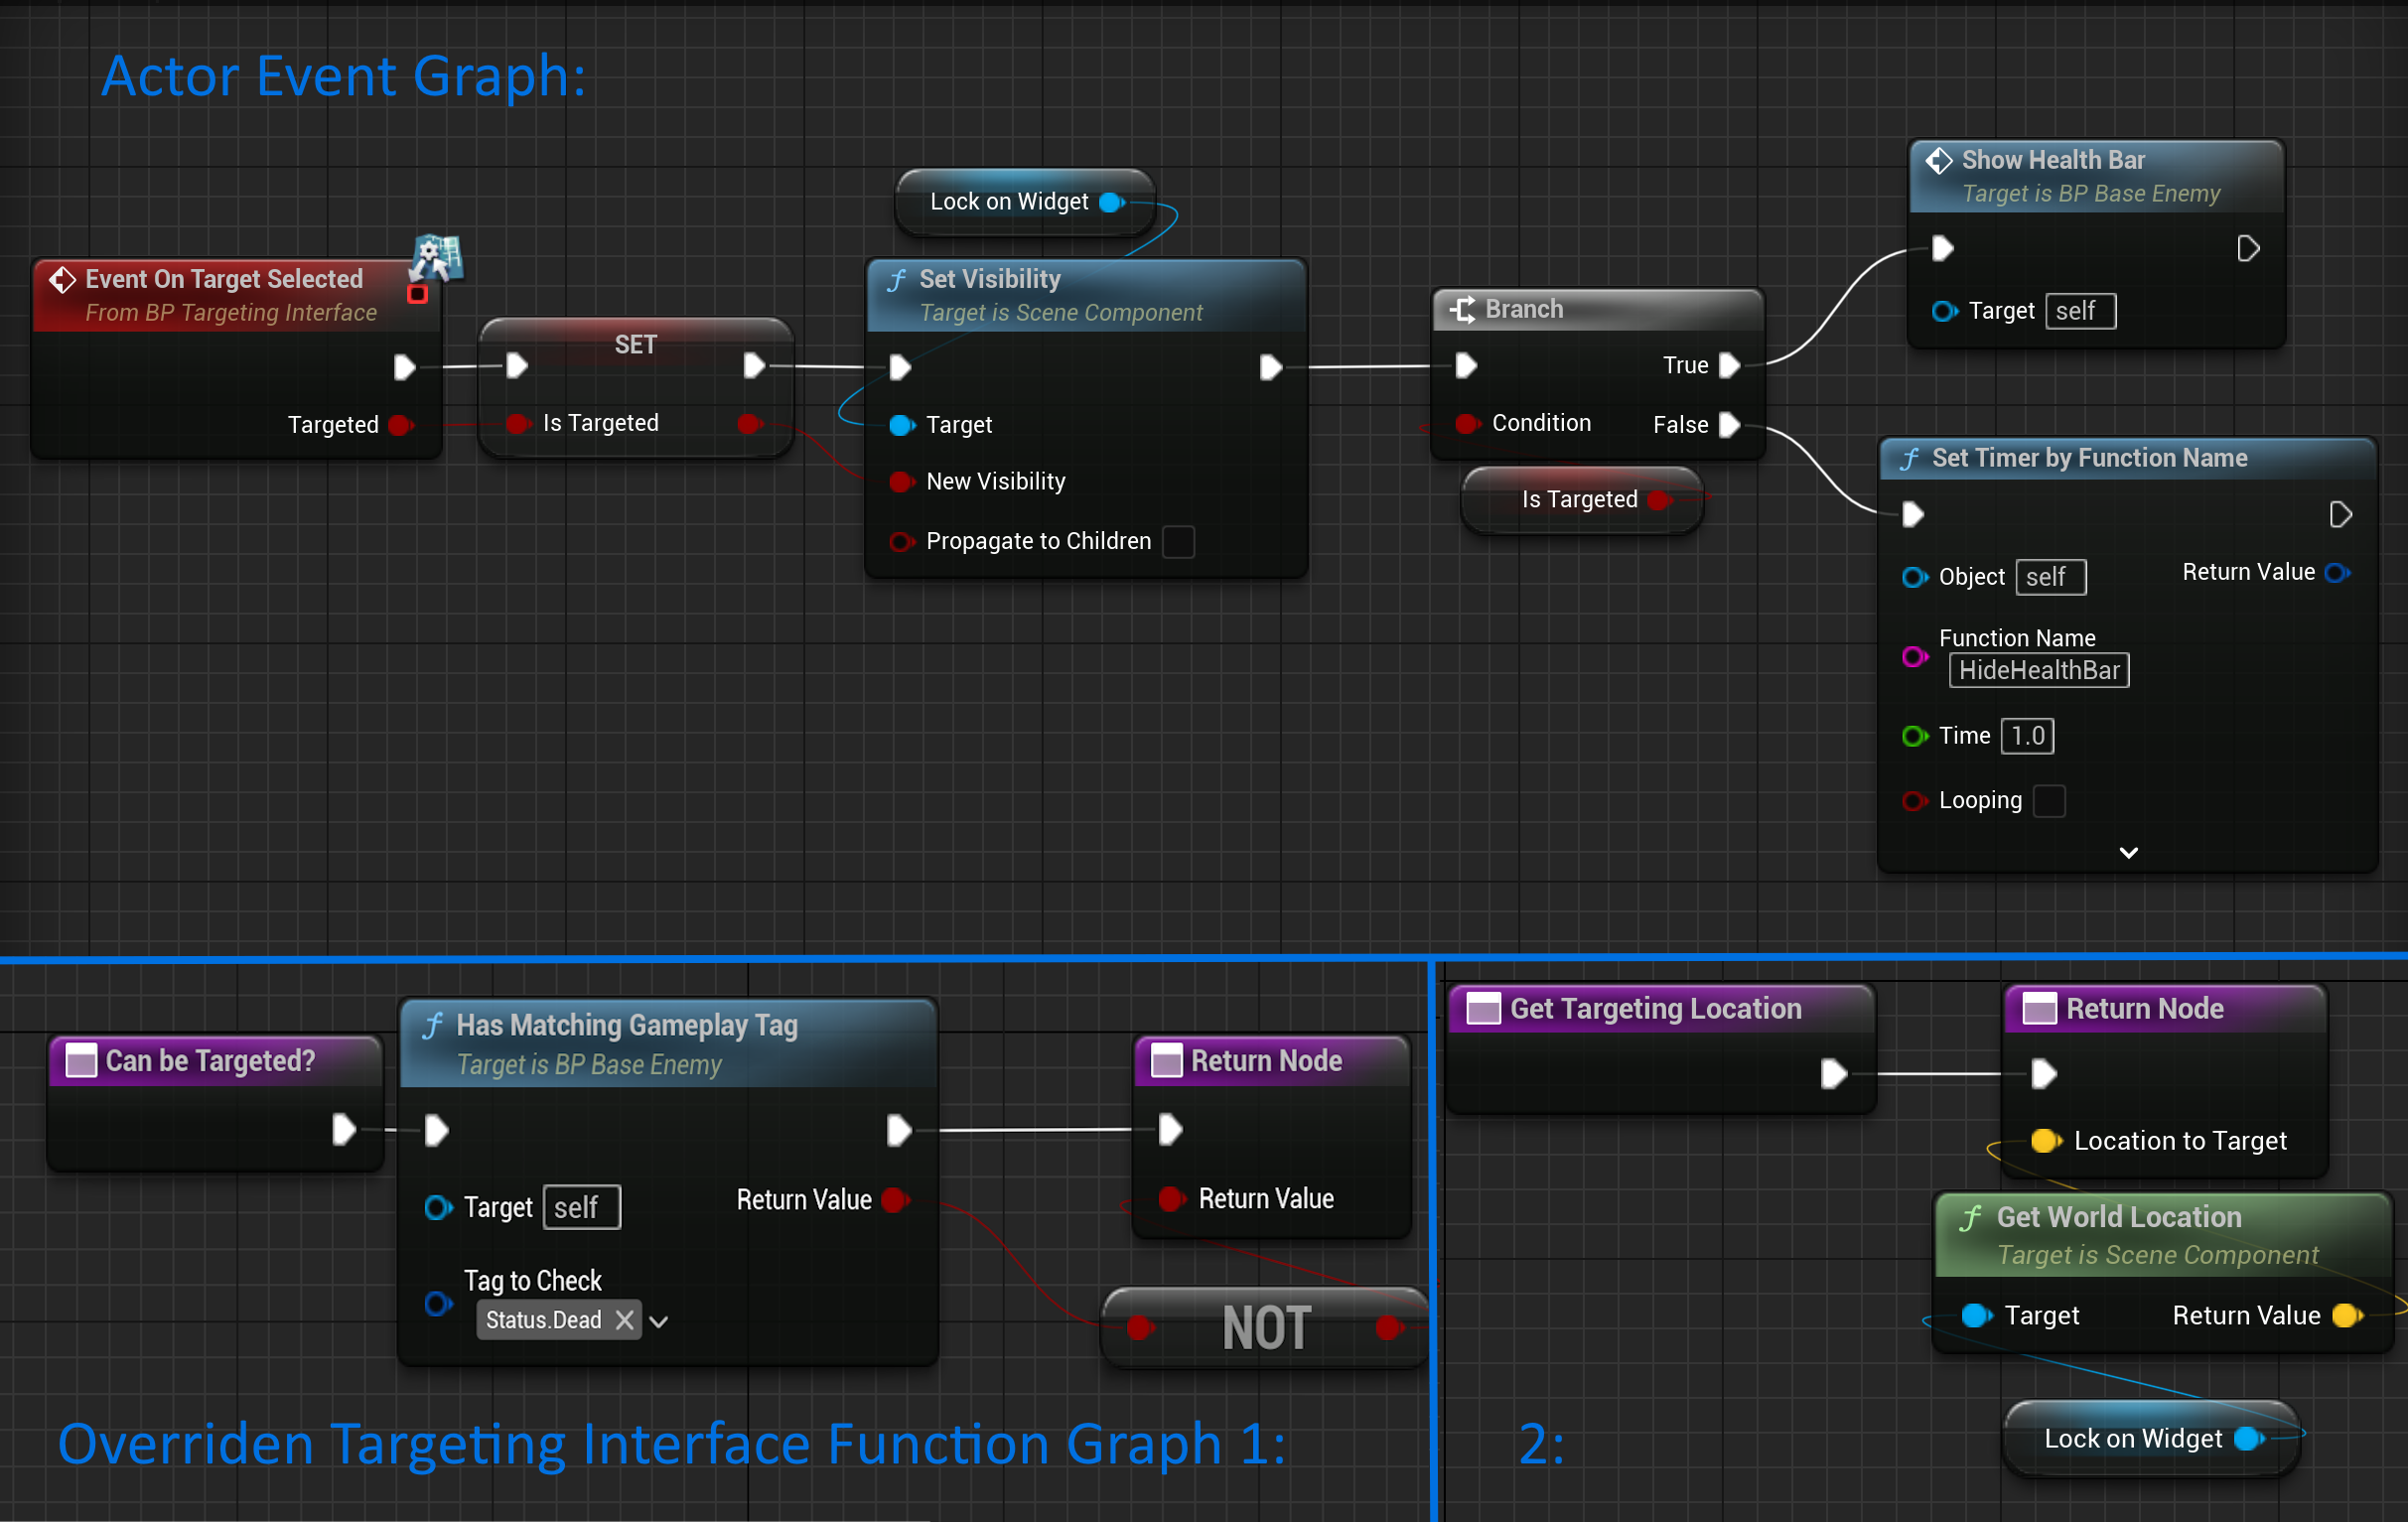
- Implement the following interface functions:
- On Target Selected: Use the provided
bTargetedbool to set the Widget Component’s visibility (e.g., Visible ifbTargetedis true, Hidden otherwise). Add custom logic, such as playing a sound or highlighting the actor. - Get Targeting Location: Return the world location of the Widget Component (e.g., using
GetComponentLocation) to position the lock-on widget. - Can Be Targeted: Return
trueif the actor is targetable (e.g., check if the actor is alive or meets other conditions). For example, implement logic to returnfalseif the actor’s health is zero.
- On Target Selected: Use the provided
- Ensure the actor’s collision settings respond to the object types specified in
BP_TargetingComponent’sTargeting Object Types(e.g.,Pawn). - Place the custom actor in the level and test targeting, ensuring the lock-on widget appears and target switching works.
Adding Custom Targeting Widgets
- Create a new Widget Blueprint (e.g.,
WBP_CustomLockOn) in the Content Browser. - Design the widget (e.g., add a custom image or text for the lock-on indicator).
- In the targetable actor’s Blueprint, set the Widget Component’s Widget Class to
WBP_CustomLockOn. - Ensure the
On Target Selectedfunction updates the Widget Component’s visibility.
Customizing Targeting Behavior
- Open the pawn’s Blueprint and select
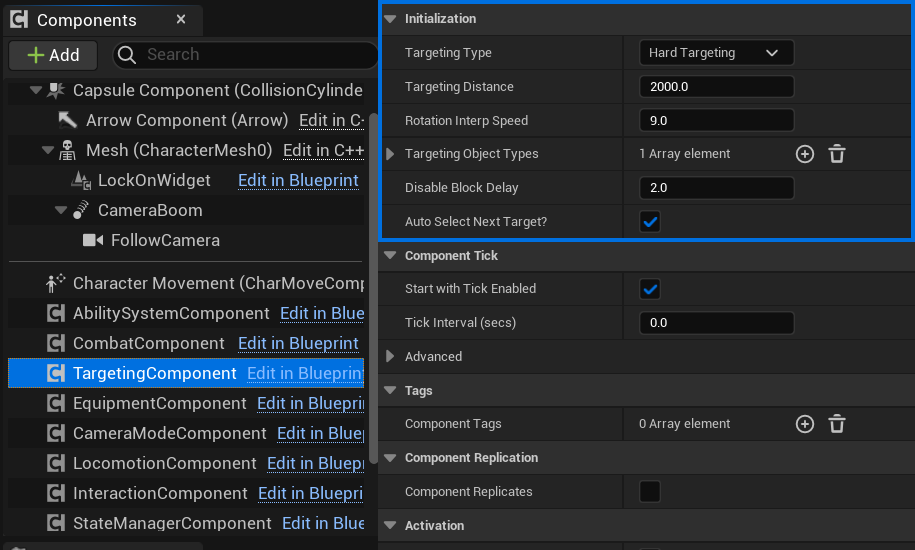
BP_TargetingComponent. - Adjust properties in the Details panel:
Targeting Distance: Set the maximum distance for valid targets.Rotation Interp Speed: Control how quickly the pawn rotates to face the target.Targeting Object Types: Add or remove object types to filter valid targets.bAutoSelectNextTarget: Enable to automatically select a new target if the current one becomes invalid.
- Save and test the changes in-game.
Best Practices
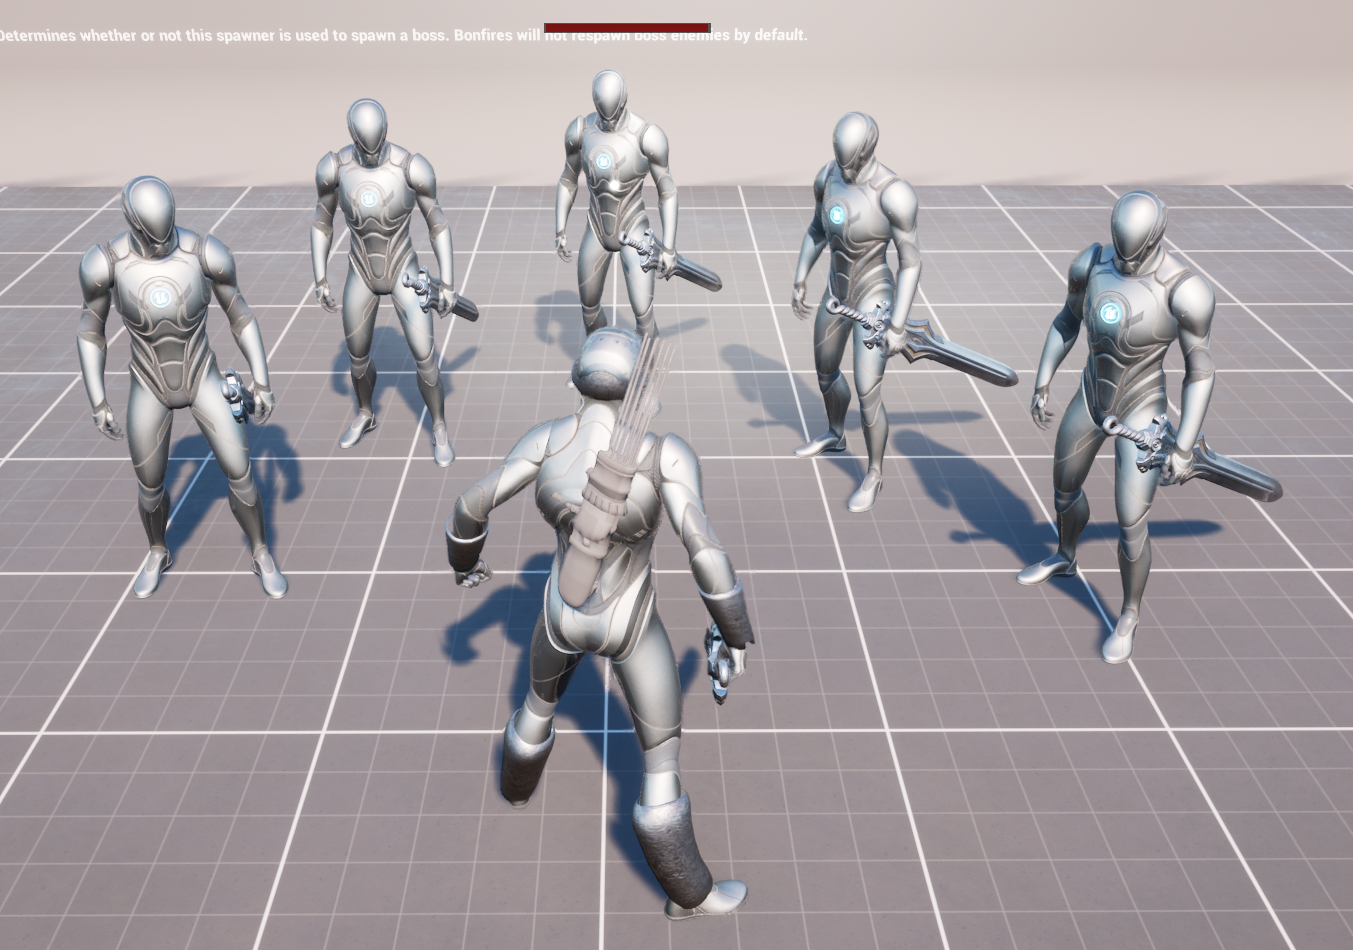
- Use default targetable actors for quick testing during setup to verify system functionality.
- Always implement
Can Be Targetedto prevent targeting invalid actors (e.g., dead enemies), improving performance and reliability. - Test targeting in crowded scenes to ensure the system prioritizes the correct target (closest to camera center).
- If extending the system, consider adding events in
BP_TargetingComponentto notify other systems (e.g., animation or AI) when a target is selected.